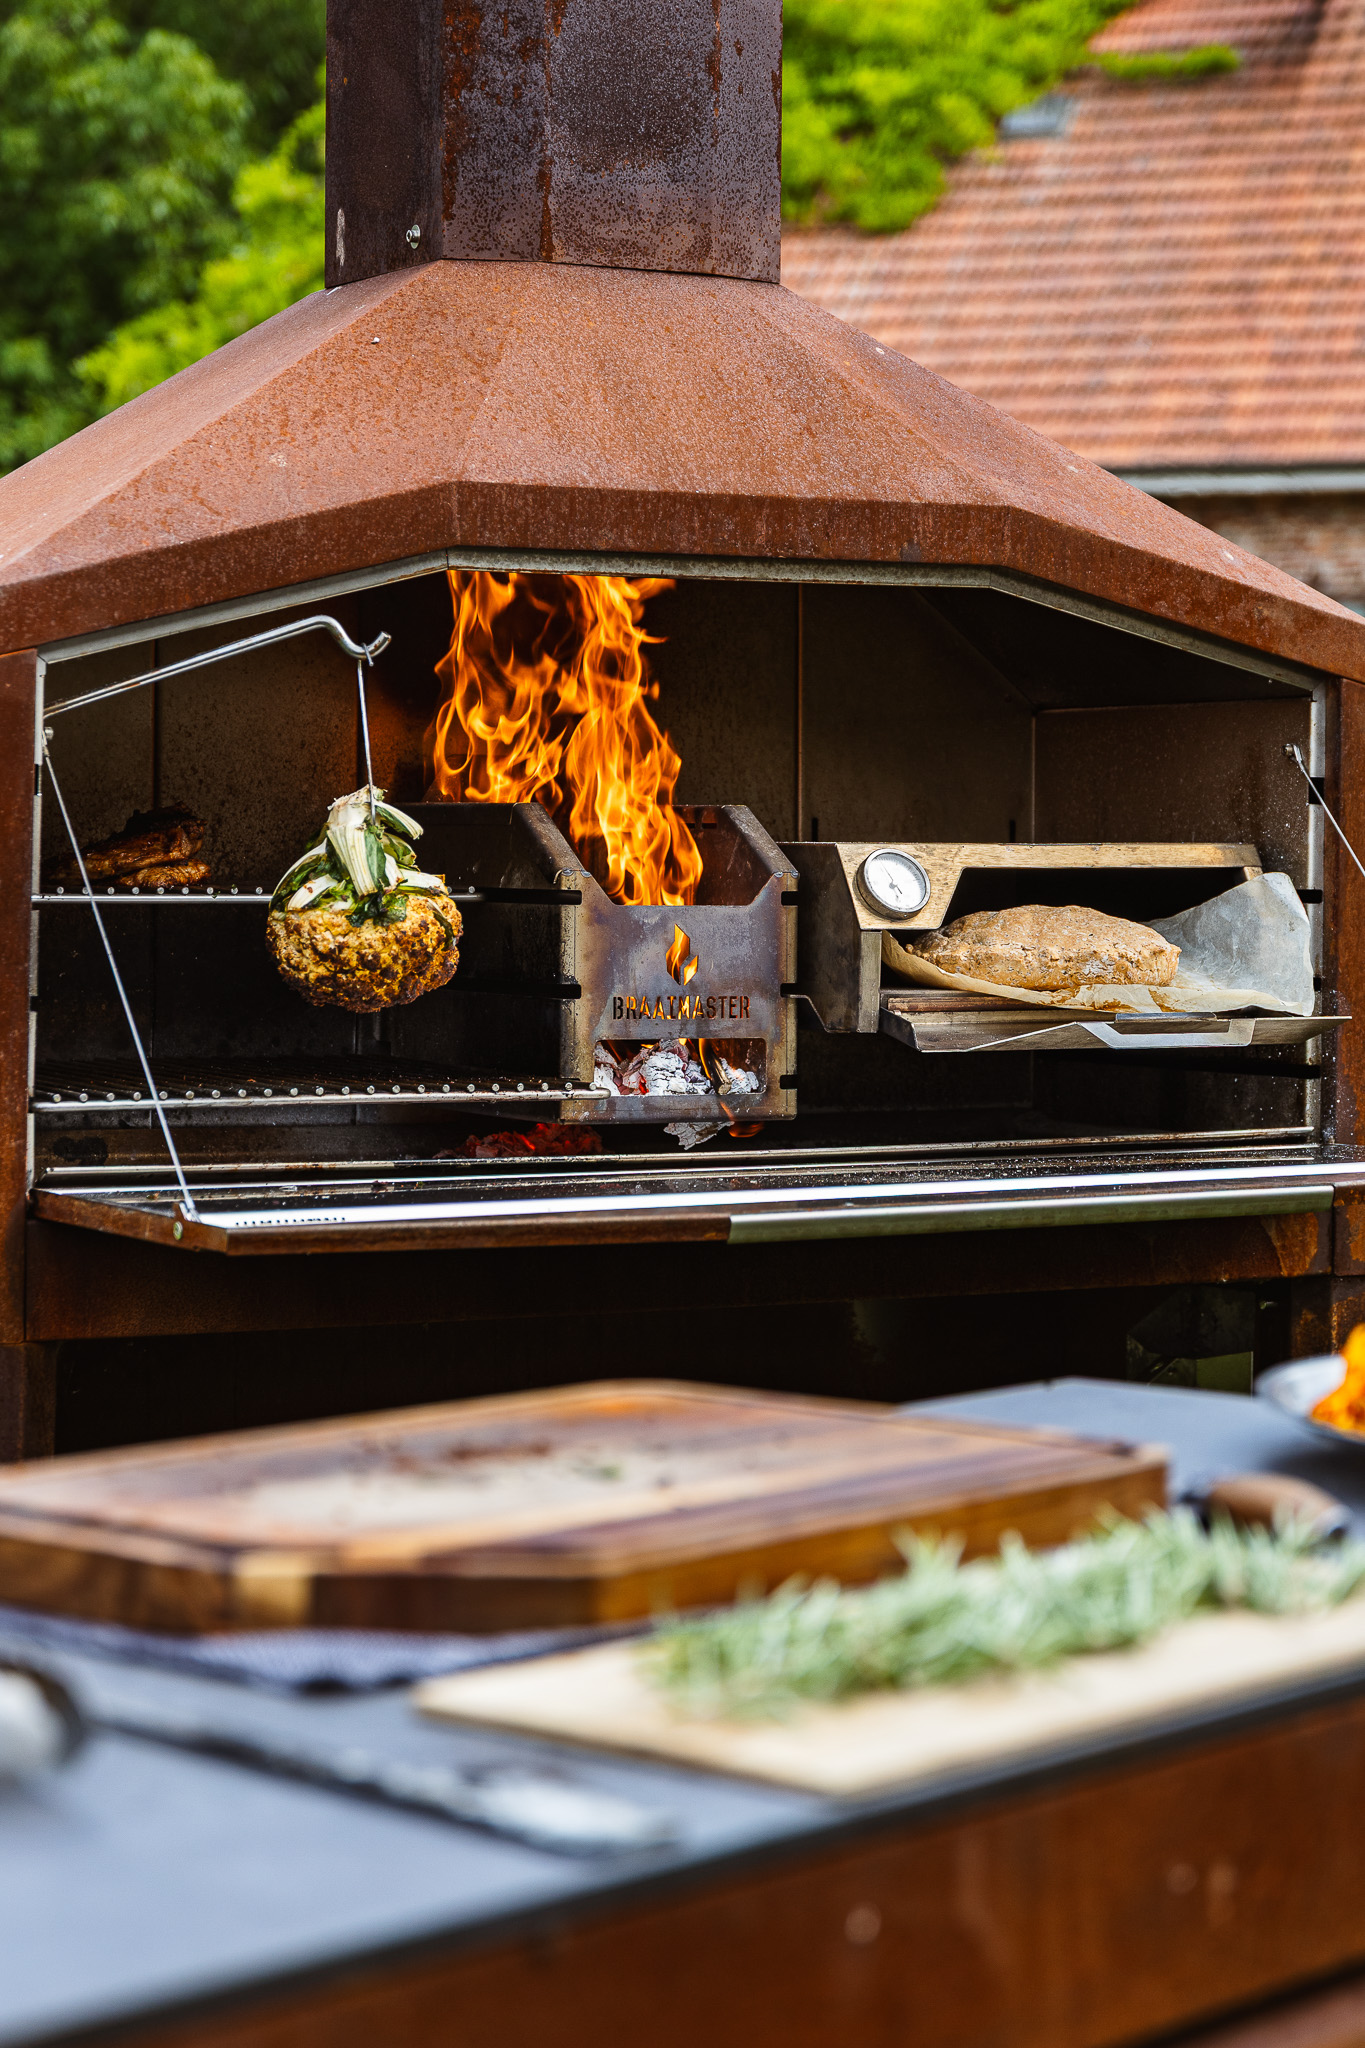
A good fire starts with dry wood, plenty of air, and a smart stack. But what’s the best way to actually light that fire?
There are several ways to start a fire: with fire starters, a few pinecones, or simply the way you’re used to doing it at home. One nice and effective method is the Swiss method.
With this method, you build the wood pile from largest to smallest and light the fire from the top. The fire then gradually burns its way down through the wood. In the Braaimaster, we combine this with a second fire starter coil beneath the Firebox. This way, the fire gets going from both sides.
A good fire requires three ingredients: a sufficient supply of air, the right temperature, and good fuel in the form of dry wood. The Firebox from Braaimaster is specially designed to ensure excellent airflow. This means one of the most important requirements is already met. With dry wood and the right lighting technique, you have everything you need for a beautiful, virtually smokeless fire.
Why “smokeless”? Smoke is mainly produced by incomplete combustion. By lighting the fire from the top, allowing sufficient air to flow in, and using dry wood, the wood burns as completely as possible, keeping smoke to a minimum. It’s never possible to burn wood completely smoke-free—especially not in the first few minutes—but the difference compared to a fire lit the traditional way is clearly visible.
Wondering how to do that? We'll show you step by step.

What do you need?
- Matches or a lighter
- Two fire-starting coals
- Thin cubes of kindling
- Dry Sekelbos, oak or ash wood
Good, dry wood is the key to a great fire. We recommend using dry, untreated hardwood. Check out our favorite wood for grilling: Sekelbos.
Here's how to light the fire
1. Start under the firebox
Place a piece of wood with a fire starter coil under the Firebox. This provides an additional ignition point and also helps the fire get going from below.
2. Build your woodpile
Start at the bottom with the larger logs and work your way up, using smaller and smaller pieces of wood.
Stack the logs crosswise on top of each other. This creates an open stack with enough space between the logs, allowing air to circulate freely through the wood.
3. Place kindling on top
Place a few thin pieces of kindling on top of the woodpile. Place the second fire starter on top of them.
4. Light both candles
Place the fire starter under the Firebox and light it on top of the woodpile.
The fire is now starting from two sides. From above, it gradually burns its way down through the smaller logs, while the fire also begins to burn beneath the firebox.
5. Give the fire time
Let the fire build up slowly, and don't add more wood too quickly. Once the flames are burning strongly and the logs begin to char, a nice bed of glowing embers will gradually form. Add more wood as needed to keep the fire going.
Ready to grill!
A well-built fire, vigorous combustion, and a beautifully glowing bed of coals. The foundation has been laid.
Wood on the fire, gathering around the flames, and enjoying the great outdoors.
Let's fire up the grill! 🔥
Would you rather see how to use the Swiss method? Watch the instructional video below.